http://cg.tutsplus.com/tutorials/autodesk-3ds-max/3d_tutorial_autodesk_3dsmax_max_modeling_lighting_rendering_texturing_dynamics_condensation_particles_condensation_1/
http://cg.tutsplus.com/tutorials/autodesk-3ds-max/3d_tutorial_autodesk_3dsmax_max_modeling_lighting_rendering_texturing_dynamics_condensation_particles_condensation_2/
1. Using the Scatter compound object
Using the Scatter compound object, you can randomly place a selected object over the surface of a distribution object. Using this method, the condensation effect can be easily achieved in just a few minutes, and the result can be saved and reused in other projects.
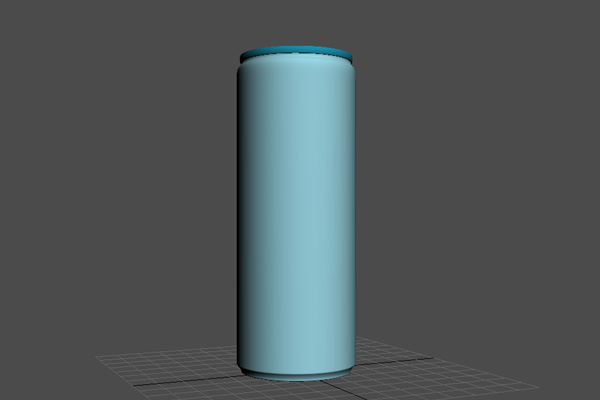
Step 1
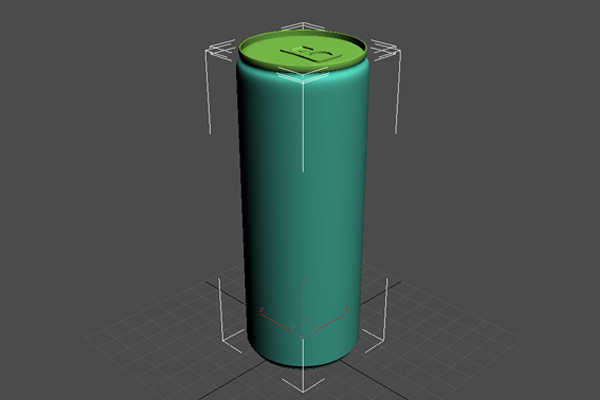
Import 「can.obj」 into your scene.
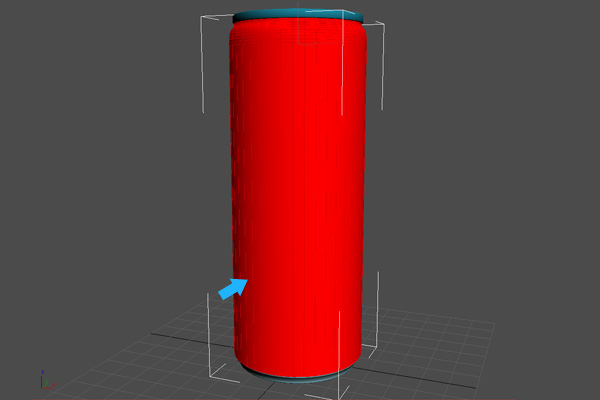
Step 2
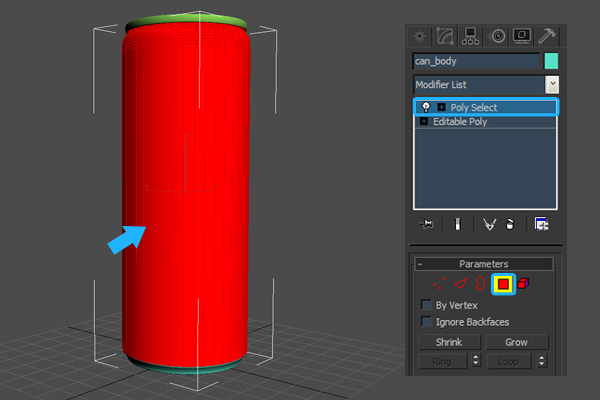
Select the 「can_body」 object and in the 「Modify Panel」, add a 「Poly Select」 modifier to it. Select the faces where you want to distribute the condensation water drops.
Step 3
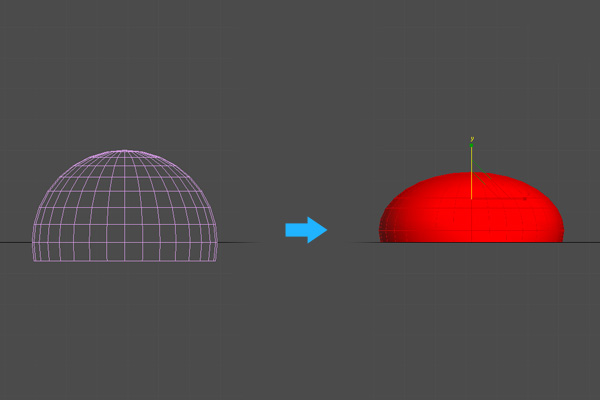
Next, we need to create the 「water drop」, that will be used to create the condensation. Create a small 「Sphere」 object, convert it to an 「Editable Poly」, then delete the following faces.

Step 4
Select the remaining element and scale it down on the 『z' axis, as shown.
Step 5
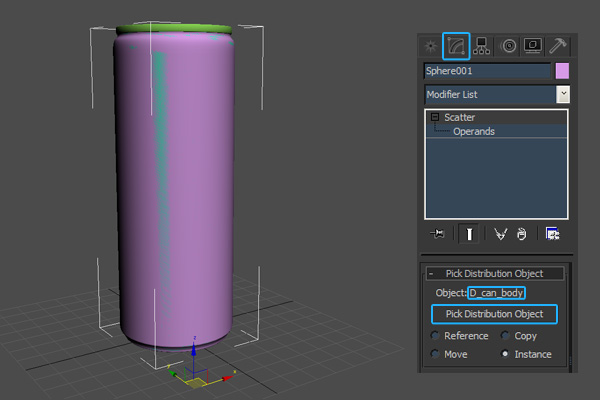
With the 「Water drop」 object selected go to 「Command panel > Create > Compound Objects > Scatter」.

Step 6
Once clicked the 「Scatter」 button, go to the 「Modify」 panel, to access it s properties. Click the 「Pick Distribution Object」 button and select the 「can_body」 object.
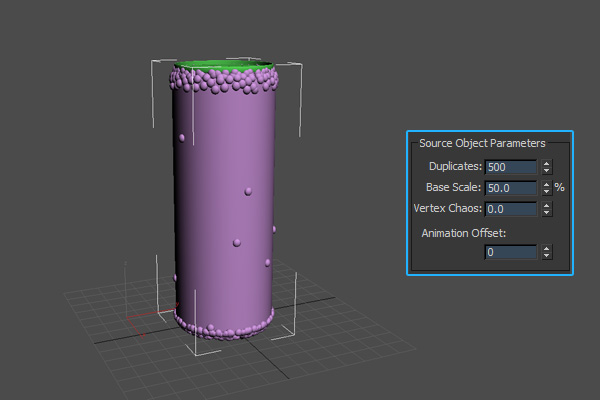
Step 7
In the 「Source Object Parameters」 group, use the 「Duplicates」 spinner to specify the number of duplicates and scale them down if it's necessary, using the 「Base Scale」 spinner.
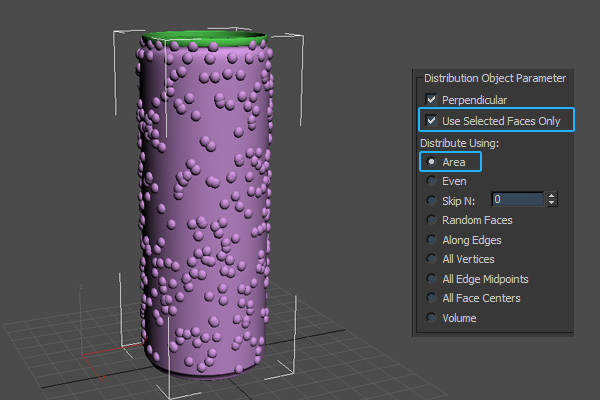
Step 8
Until now, the condensation effect isn't looking realistic at all, so you need to do some changes. In the 「Distribution Object Parameter」 group, enable 「Use Selected Faces Only」 and change the distribution method to 「Area」.
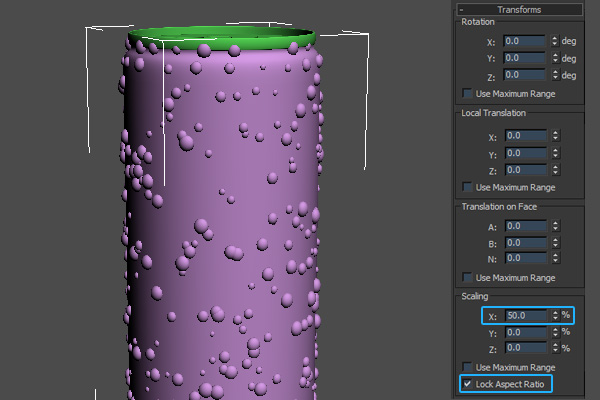
Step 9
To create some scale variations, go to the 「Transforms」 rollout. In the 「Scaling」 group, enable 「Lock Aspect Ratio」 and set the 「X Scaling」 to 』50%』.
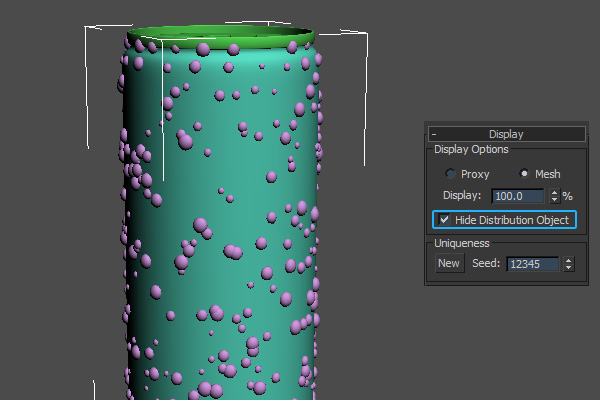
Step 10
In the 「Display」 rollout, enable 「Hide Distribution Object」. You can get different results using the 「Seed」 spinner, or by clicking the 「New」 button.
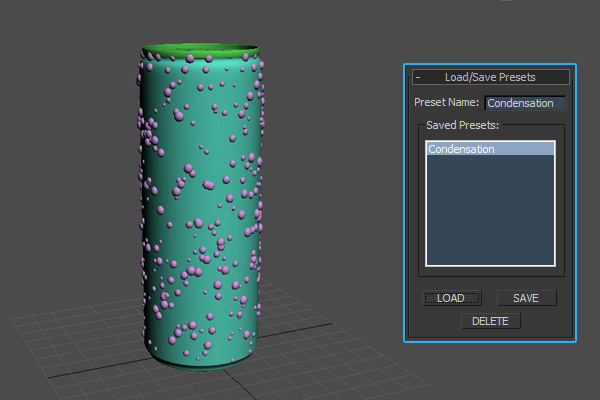
Step 11
If you are satisfied with the result, you can save a preset and reuse it, whenever you want.
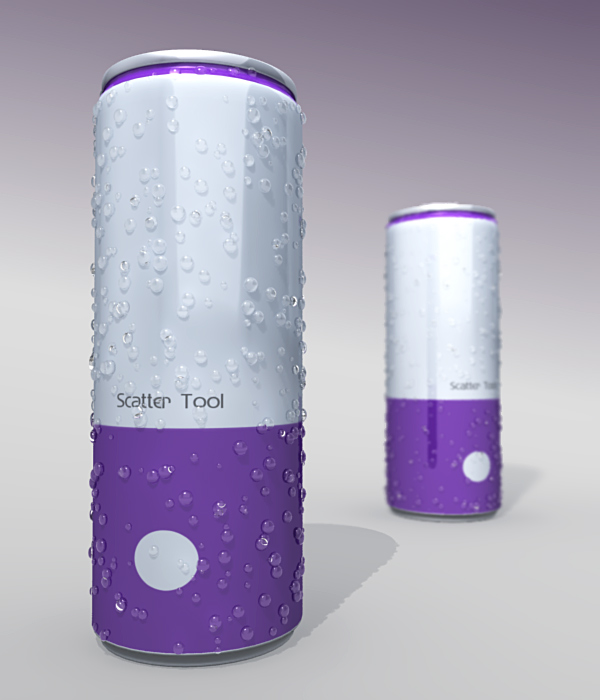
Final Image
Below you can see my result, created with the 「Scatter」 compound object.
2. Using the PArray particle system
PArray is non event-driven particle system, used to distribute particles on a geometric object. It provides an easy and very efficient method for generating the condensation effect, and with the built-in MetaParticles shape, you can get realistic results.
Step 1
Import the can object into your scene.
Step 2
Again, select the faces where you want to distribute the condensation water drops.
Step 3
It's time to create the condensation effect. Go to 「Command panel > Create > Particle Systems > PArray」, and create a 「PArray」 particle system in the viewport.

 留言列表
留言列表